

App, hardware or both?
How to scope an IoT product before you spend a dollar on building it.
The most expensive mistake I see isn't a bad idea. It's building the wrong thing first. Someone pays for an app when the problem needed a sensor. Or they get a custom circuit board made before anyone has checked whether the device can even get a Wi-Fi signal where it's going to live.
"IoT" (the Internet of Things) just means a physical device that talks to an app or the internet: a tank sensor that texts you when it's low, a controller you run from your phone, a machine that reports when it needs servicing. They're brilliant products, but they have more moving parts than an app on its own, and every part costs money. This guide walks through what to work out first, so the money you spend goes into the right parts.
1. Write down the job, not the features
Start with one sentence: who has the problem, what goes wrong, and what they'd do differently if they knew sooner or could control it from somewhere else.
- "Farmers don't know their stock tank is empty until the cattle are thirsty."
- "Holiday guests crank the spa heater to 40°C and leave it running all week."
- "Our technicians drive out to a site just to read a fault code."
Features come later. If you can't write that sentence, a developer can't quote it accurately, and you'll end up paying for guesses.
2. Decide if it really needs hardware
Hardware is slower and more expensive than software, so it should only be there if it earns its place. A quick way to check:
| If your idea needs to… | You probably need |
|---|---|
| Organise information people already type in (bookings, quotes, job notes) | An app or web tool only |
| Read something physical (water level, temperature, power, movement) | A sensor plus an app |
| Switch or control something physical (pumps, lights, heaters, gates) | A controller plus an app |
| Talk to equipment that already has a control port or protocol | Possibly just an interface board plus an app |
| Be held, worn or used as a product in its own right | Full product design: electronics, enclosure and app |
Before going custom, check whether off-the-shelf parts already do 80% of the job. Plenty of good products are a well-chosen sensor, a small computer and a great app, with no custom circuit board at all in the first version.
3. Map every piece of the system
Most IoT products have the same five pieces. Sketch yours on one page, even roughly:
- The device: sensors, switches and the small computer that runs them
- The connection: Wi-Fi, Bluetooth, mobile data (4G) or a long-range radio such as LoRa
- The cloud: a secure server or database that stores readings and passes commands along
- The app: iPhone, Android, web, or all three
- The back office: how you, a technician or a support person manage many devices at once
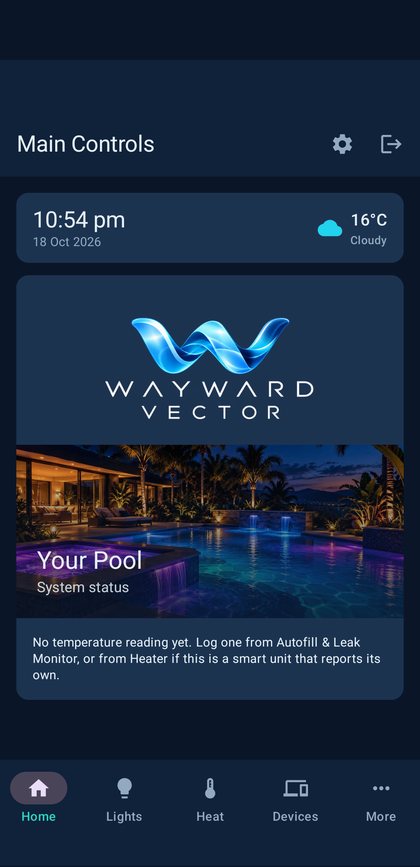
The back office is the piece people forget, and it's often where the business value sits. On the smart pool and spa controller I built recently, the owner app was the obvious part. The bit the client cared about most was letting one service technician securely see and manage many controllers, with full logs, without driving to each site.
4. Answer the boring questions that sink products
These rarely come up in the exciting first conversation, and they cause most of the redesigns:
Power
Mains, solar or battery? A battery device that has to last a year is a very different design from one plugged into the wall. Anything wired to 240V mains needs a licensed electrician to install it, and that affects how you design and sell it.
Environment
Outdoors, wet, hot, dusty or near chlorine? Enclosures, connectors and seals all change, and so does the price. Something that works perfectly on a desk can fail in a month on a pump pad.
Connection
Is there reliable Wi-Fi where the device lives? Sheds, paddocks and pool equipment areas often have none. Mobile data adds a SIM and a monthly cost, while long-range radio adds a gateway. Test the signal on site before you design around it.
Compliance
Electrical and radio products sold in Australia need to meet safety and radio rules, usually shown with the RCM mark. You don't need this for a prototype, but you should know early if you plan to sell the product, because it affects which parts you choose.
5. Work out who uses it, and what they're allowed to do
List every type of user and what they should and shouldn't be able to touch. A typical setup might be:
- Owner: full control, sets the rules
- Guest or staff: limited control, such as a capped spa temperature, set hours, or access by QR code that expires
- Technician: remote diagnostics and logs across many sites
- You, the business: the ability to rebrand, update and support the product
Permissions are cheap to plan and expensive to bolt on later, so settle them before the build starts.
6. Know what a prototype is meant to prove
A prototype isn't a cheaper version of the final product. Its job is to answer questions: does it work, will people use it, and can it be made at a sensible cost? Plan it in stages:
- Proof of concept: off-the-shelf boards on a bench, proving the core idea works
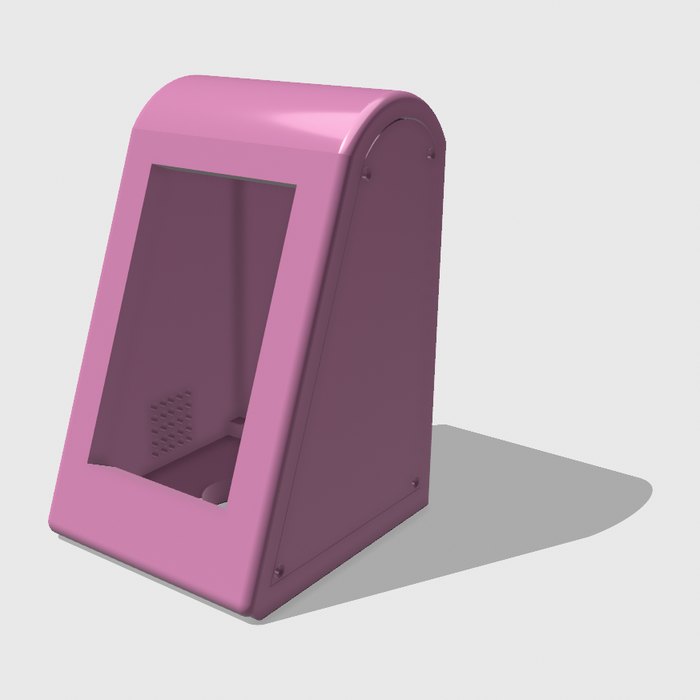
- Working prototype: a real enclosure (usually CAD-designed and 3D printed), a real app, tested in the real environment
- Pilot: a handful of units in real customers' hands, collecting feedback and fault logs
- Production design: custom circuit boards, moulded enclosures, compliance testing and manufacturing
Each stage costs more than the one before, so each one should be earned by the results of the last. Skipping straight to stage four is how budgets disappear.
7. Budget for running costs, not just the build
The build is a one-off cost. These keep coming:
- cloud hosting and database costs, which grow with the number of devices
- mobile data plans, if the devices use 4G
- Apple and Google developer accounts for publishing the apps
- app updates when phones and operating systems change
- replacement parts and warranty returns once units are in the field
Knowing these early also shapes how you charge for the product: a one-off sale, a subscription, or a service contract.
Your one-page checklist
Before you talk to any developer, try to answer:
- What's the one-sentence problem, and who has it?
- Does it need to read or control something physical?
- Where will the device live: power, weather and signal?
- Who uses it, and what can each person do?
- What does the first prototype need to prove?
- Roughly how many units will there be in year one, and how will you charge for them?
You don't need perfect answers. Even rough ones will make every quote you get more accurate, and they'll show you which questions matter most.
Want help answering them?
I'm Luke, and I run Wayward Vector, a product and prototype studio on Tamborine Mountain. I build the hardware, CAD, apps and backend myself. My Feasibility & Scoping Sprint works through every question in this guide with you and finishes with a plan, CAD or mock-ups, and a fixed quote for the build. The fee is credited to your build if you go ahead.
Tell me about your idea